Australis is a pretty new brand to me, but recently I have purchased quite a few of their products, and I have to say I am really liking the brand so far. So I decided to share with you all the products I own and how I like them - including the Velourlips, Metallix eyeshadow, Fresh & Flawless powder and the Go Camo concealer.
Velourlips
I currently own four of the Velourlips Matte Lip creams - Pa-ree, Hon-o-loo-loo, Mi-am-ee, and Doo-bai.
 |
| L-R Doo-bai, Mi-am-ee, Hon-o-loo-loo, Pa-ree |
These lip creams go on quite nicely and are very pigmented on the lips. They dry quite quickly but not too quickly to work with. They feel quite dry, but I haven't had a problem with them, even on my dry lips.
 |
| Clockwise from top left; Pa-ree, Hon-o-loo-loo, Mi-am-i, Doo-bai |
As for them lasting, they stay very well without eating or drinking and usually will still stay on the lips if you're not eating oily foods etc. I also found that blotting my lips after applying them helped them stay on even longer.
Rating: 4/5
Metallix Eyeshadow
This eyeshadow is hands down amazing. I got the one in the shade 'Guns and Rose Petals', which is a kind of pink/silver colour.
The eyeshadow is quite creamy, but looks like a foiled eyeshadow when used. It is very pigmented but ideally should be applied with your finger rather than a brush to get the most out of the product.
Rating: 4.5/5
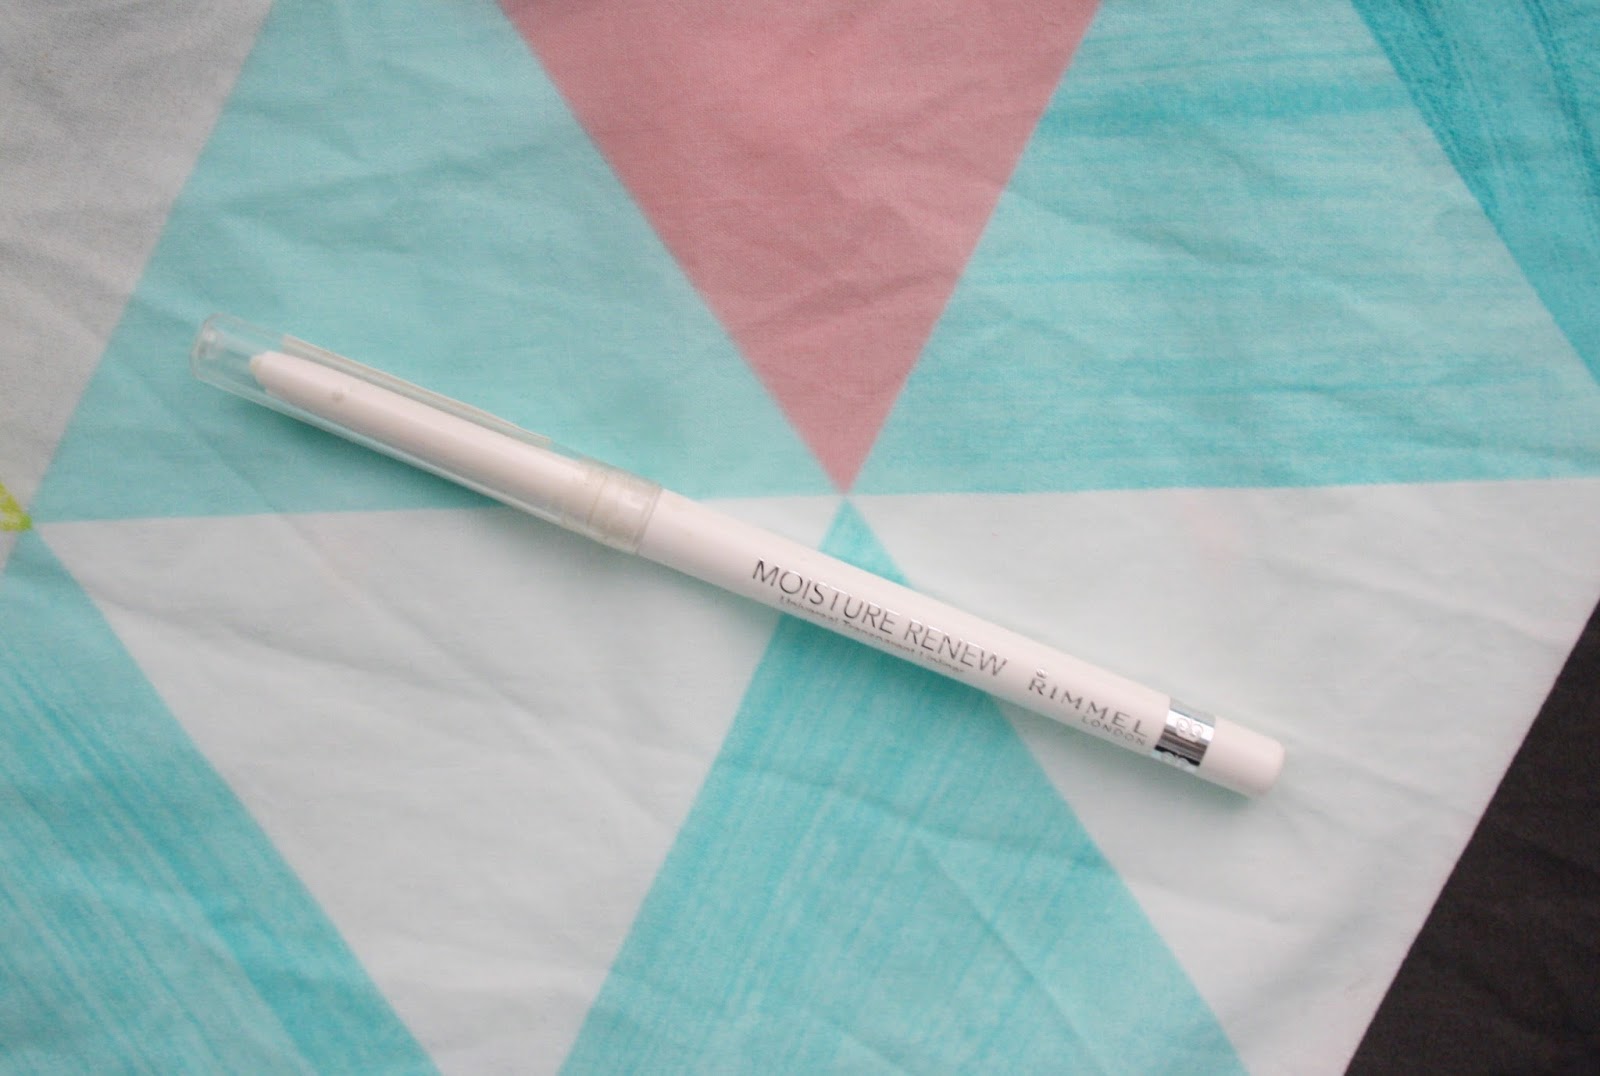
Go Camo Concealer
The Go Camo concealer claims to be a 'full on coverage concealer'. The formula is quite thick and does have quite heavy coverage. I have heard that for people with dry skin it can pick up dry patches, but on my oily skin it works quite well.
I got the shade 'Medium', the middle shade of 3 shades. For a medium shade I found it to be very light, but it works for me. I would say the biggest downfall of tis product would be the lack of a range of shades.
Rating: 3.5/5
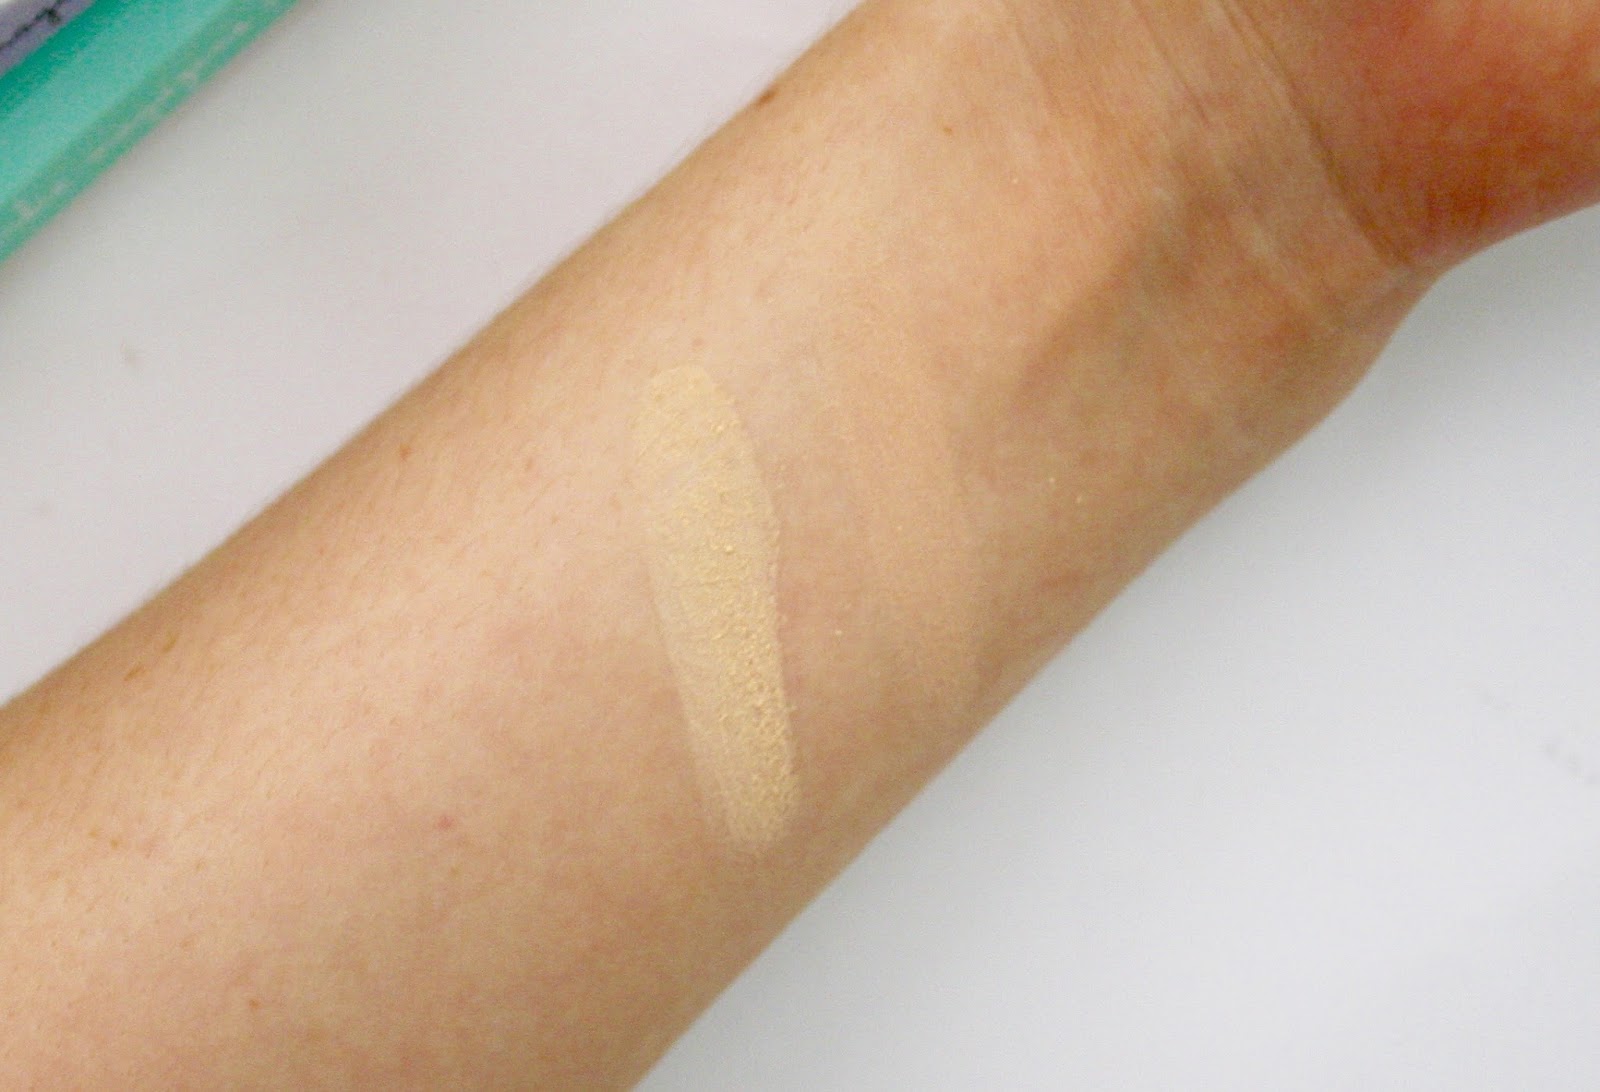
Fresh & Flawless Powder
I bought two shades - Light Beige and Deep Natural - for when I am tanned vs naturally pale. The powder is quite a thick, pigmented powder when used heavily but can be lightened in both weight and pigment depending on its usage.
 |
| L-R Light Beige, Deep Natural |
Light Beige is the lightest shade in the range. It appears very yellow toned, but I found it did not show up as yellow when used lightly & blended out. Deep Natural is a darker, more warm toned shade but is quite light when blended.
The compact can be flipped open to reveal a mirror and sponge, which makes it handy to take with you.
Rating: 4/5
Overall I am really liking Australis, and defintely think I will be purchasing more from them in the future, especially the Velourlips and Metallix eyeshadows. I hope this was helpful! Let me know how you like Australis.
- Ella